Please note that this is my very first tutorial I've done.
So I am sorry if some things are a bit confusing...
If you have any questions, just ask in a comment.
The letter in () are the shortcut to the tool needed.
I'm using Adobe Photoshop Elements 2.0.
But it should be pretty much the same in every Photoshop, even CS.

Choose the picture you want.
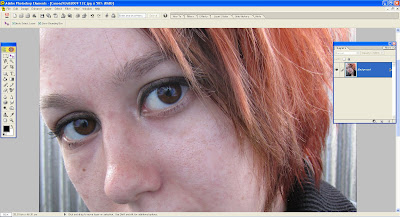
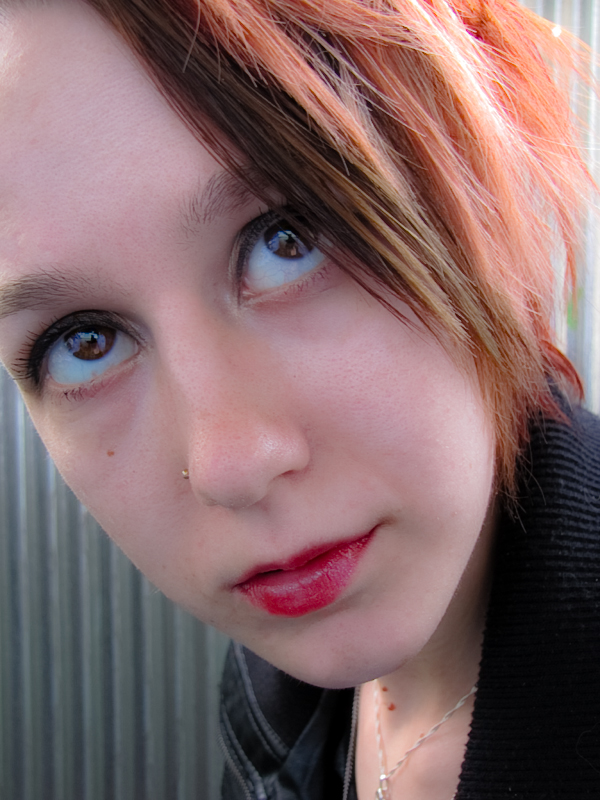
Now zoom in on the eyes, either using the zoom tool (z) or hit ctrl+.

Choose the Lasso Tool, make sure it's set on Magnetic Lasso Tool.
You just right click on the Lasso Tool and choose Magnetic.
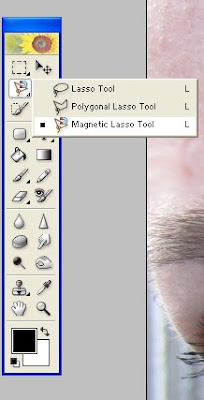
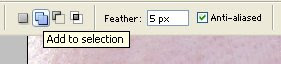
Once you have the Magnetic Lasso Tool chosen make sure it's
set on Add To Selection and that Feather is on 5px.

Now it's time to select those eyes in order to make them "pop" later !!
By choosing the setting Add to selection you can mark the other eye
without un-marking the first one you marked.
Just make a start point at the outline of the iris and then you follow it.
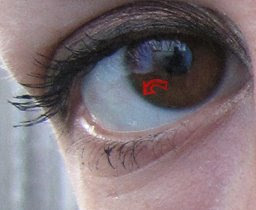
Don't worry if it doesn't become perfect with the selection,
we're going to take care of that in step four.

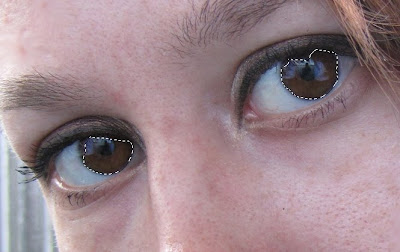
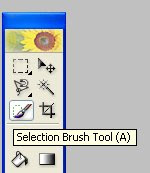
Hm, that doesn't look good, now does it ? Not to worry !!
Choose the Selection Brush Tool (A) and just fix it.

Now when you have the eyes selected you're going to copy them
and make a new layer with that copy.
Just hit ctrl+c and then ctrl+v.
Tips; Have the Move Tool (V) selected when doing this.
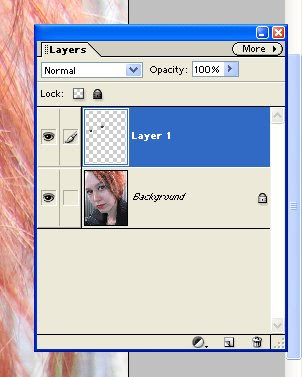
You should now have a new layer, being the eyes alone.

Go to Filter Meny -> Other -> Highpass
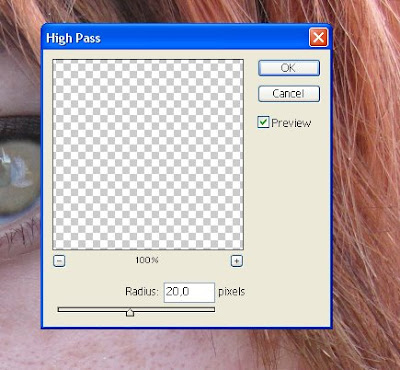
I personally prefer to have it set on 20 pixels.
But you can of course try your way forward to see what you want.

Looks a bit... bad right now.
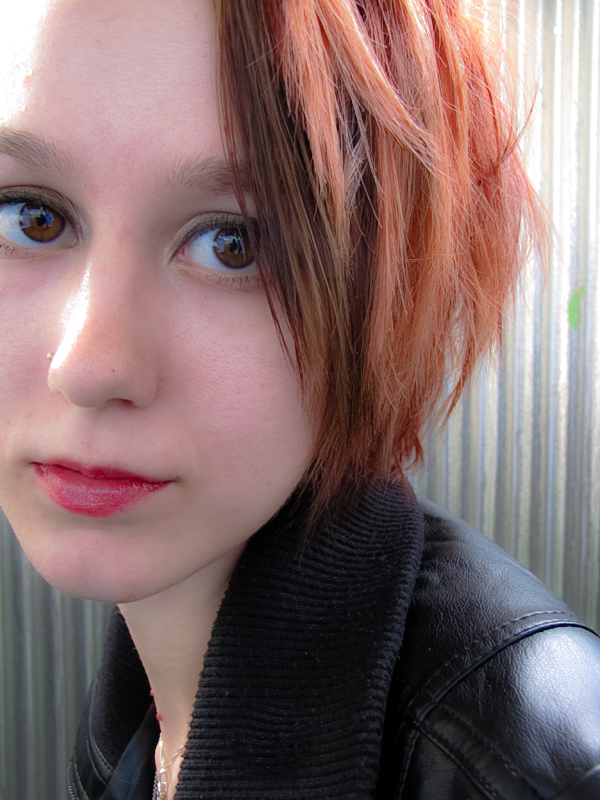
This is where you make the Eyes layer set on Soft Light.
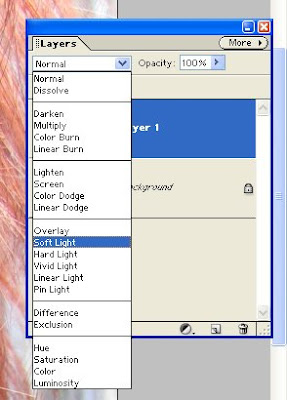
And you're done !!
If you are thinking "Hm, it doesn't look any diffirent..."
Just hide the eye layer and have a look. You can do this
by clicking on the "eye" to the left of the layer.
Hope it helped and have fun making those eye "pop" !! ^^


 Animals